DIY SmartBlinds v2 – How to

Automation project for vertical and horizontal blinds

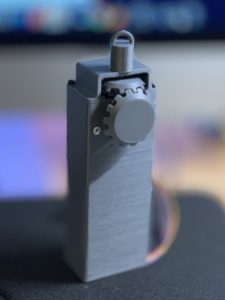
Following on the popularity of the DIY SmartBlinds v1 device found here, I attempted to update the design and make it a bit slimmer, easier to print and easier to assemble. This design uses all the same electronic components as v1 except for the power connector. In this version, I upgraded the power connector to micro usb and yes you can power this device from almost any USB power adapter. I have also updated the software to operate when mounted on the left or the right hand side of the window. So here it is:

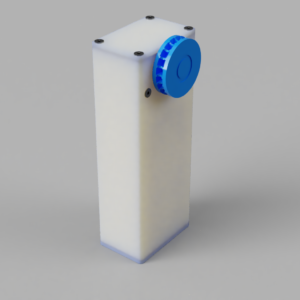
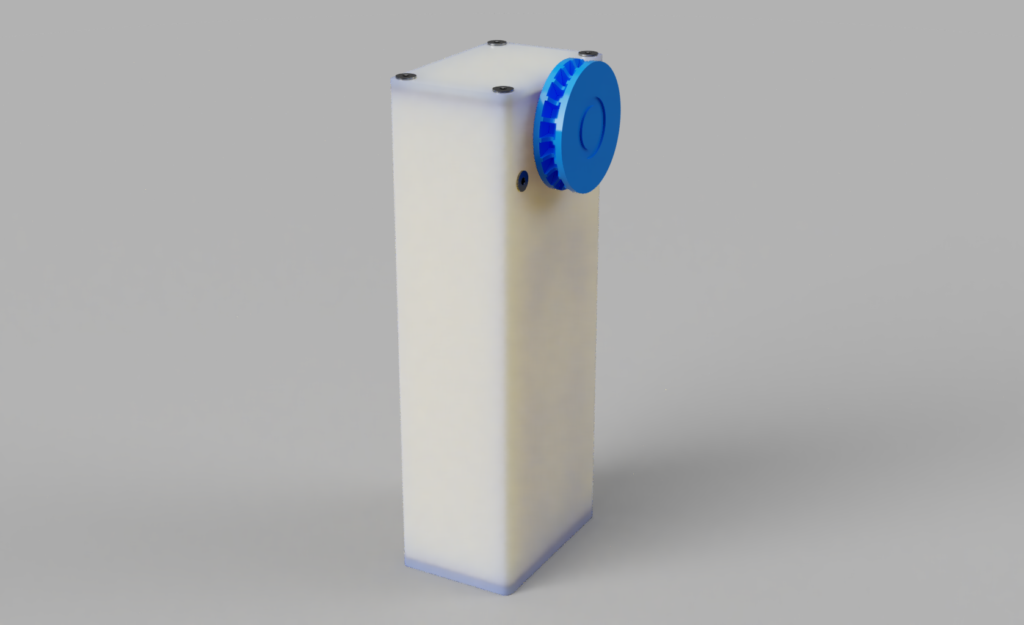
DIY SmartBlinds v2 – 360 Render

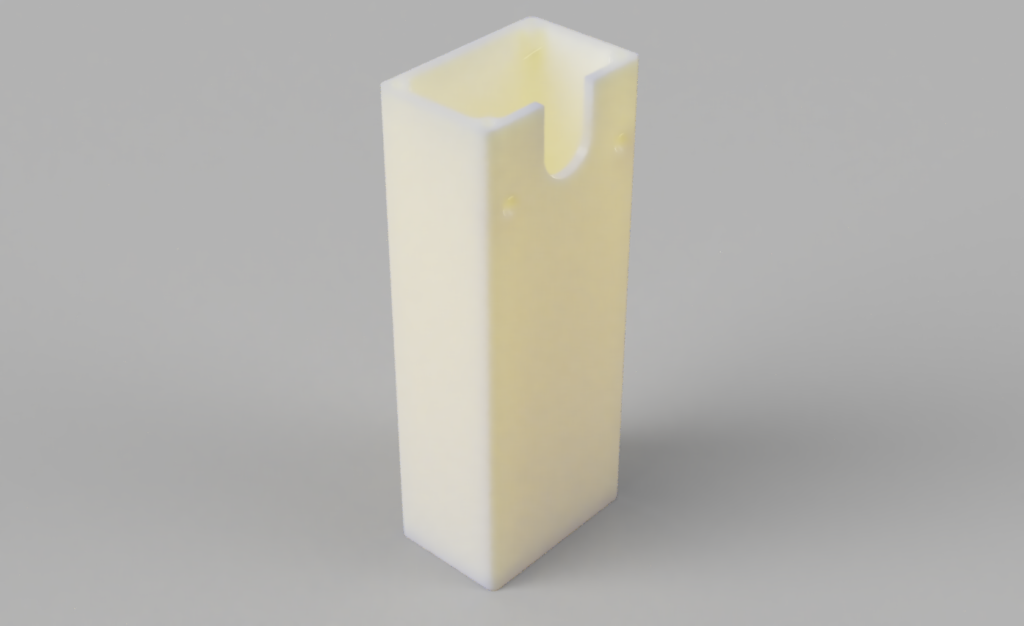
The dimensions of this design are as follows. The body height is 125mm, width 47mm and depth 31mm. The distance from the wall to the face of the cog wheel is about 40mm, if you use the included wall mount then you should add another 3 mm.

This design has been extensively tested in my own home environment. The SmartBlinds device is mounted on the inside of the window frame in semi-direct sunlight. It has run on standby for over 226 days and has actual use over 450 hrs without the need for maintenance. Although I had very positive results yours may be different hence this is not a guarntee.

3D Printing

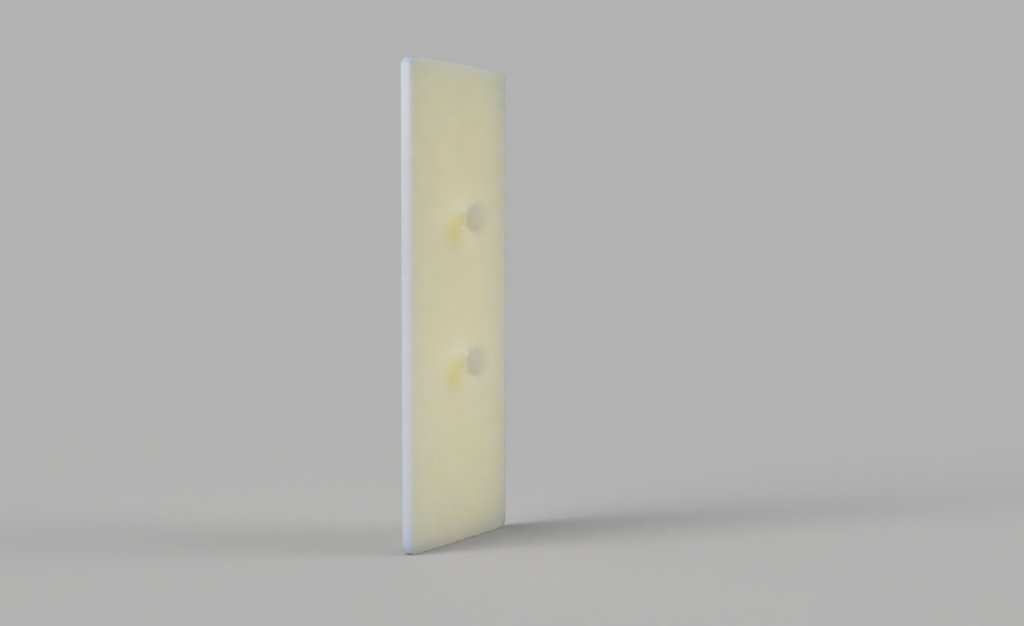
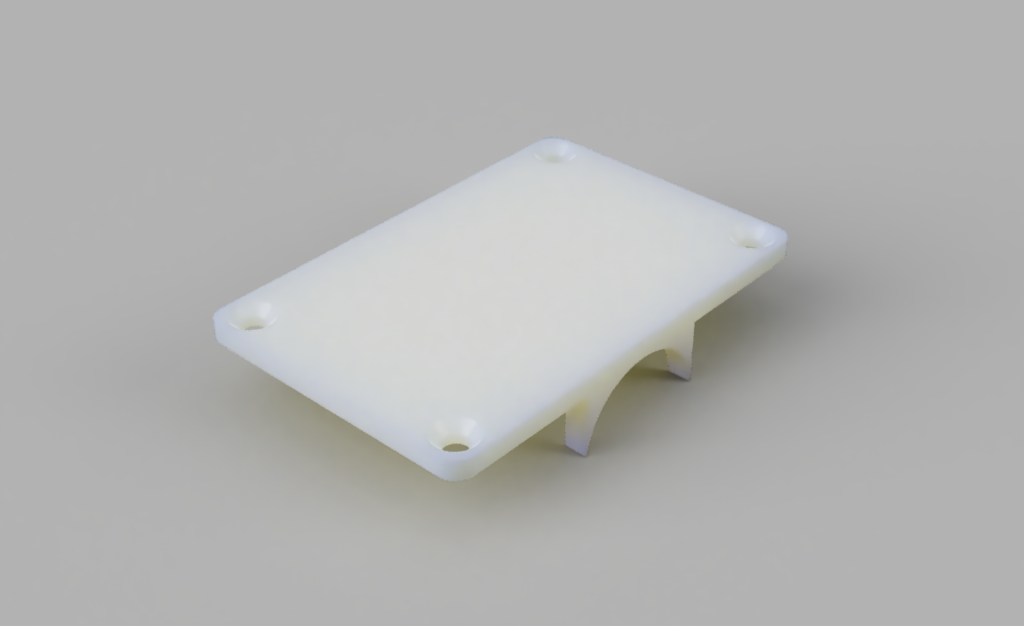
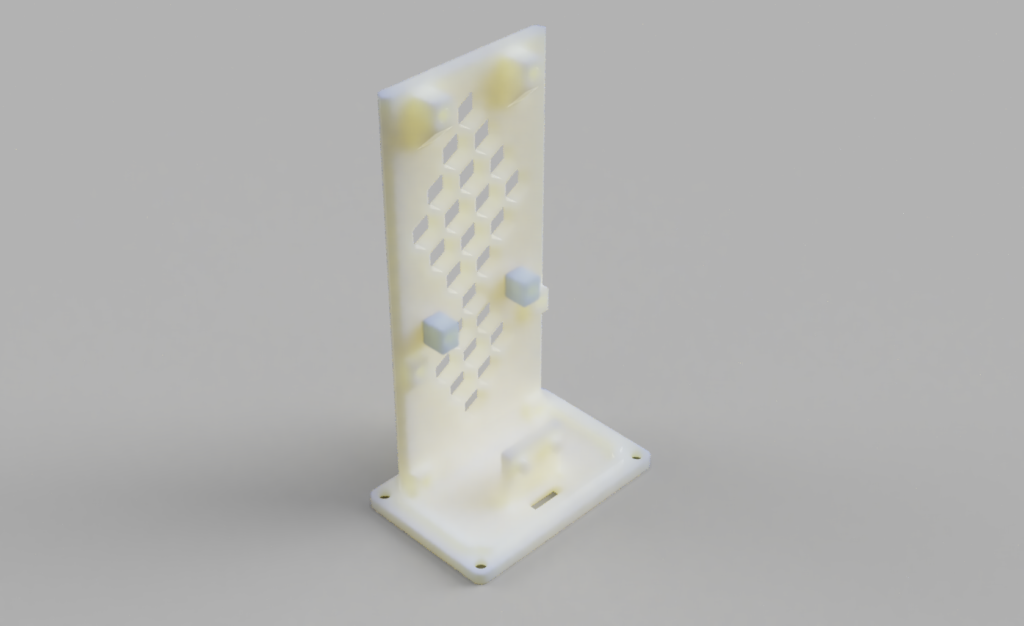
The printable components are made up of Top Lid, Bottom Lid with MCU mount, the Body and an optional Wall Mount. The assembly of the printed components is straight forward.

All components have been designed to be printed without supports. For printing I used my Prusa I3 MK3 printer. I use 0.2 layer height with 15% infill and PLA+. Even after months of usage in the Australian heat and semi-direct indoor sunlight, my prototype devices still work and operate perfectly.

Additional Components

You will require these additional components to complete the assembly. These are all easily obtainable online.

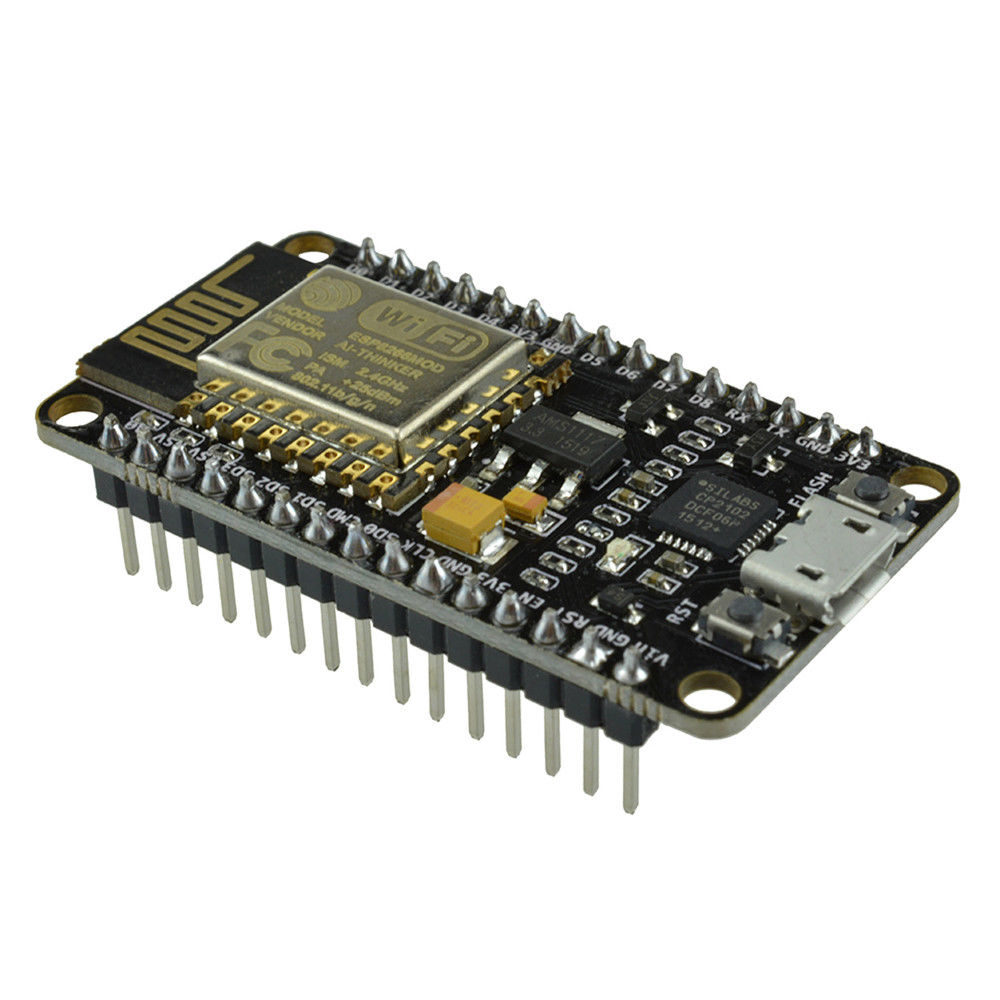
  • 1x Node MCU CP2102 ESP8266 (same as DIY SmartBlinds v1)
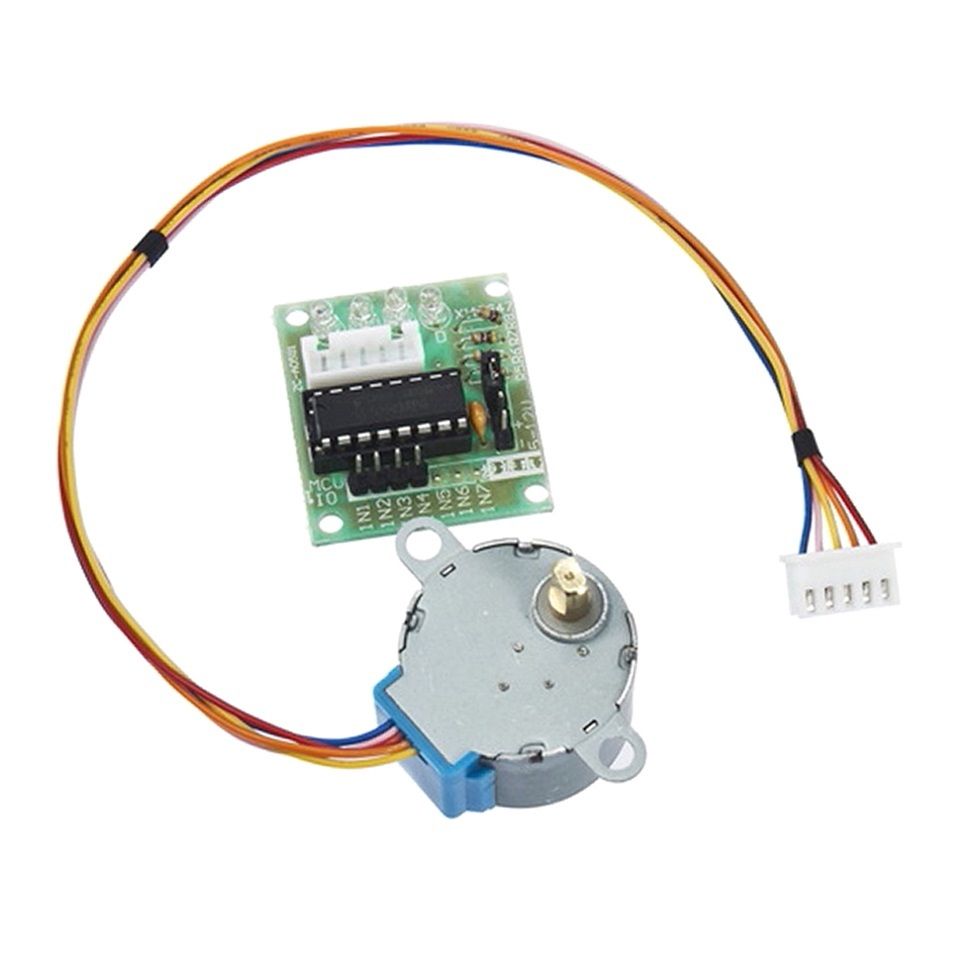
  • 1x Stepper motor 28BYJ-48 5v with ULN2003 driver (same as DIY SmartBlinds v1)
  • 8x M2.5 x 6mm self taping screws (MCU and driver board mount)
  • 8x M2.5 x 8mm Countersunk screws (top & bottom lid)
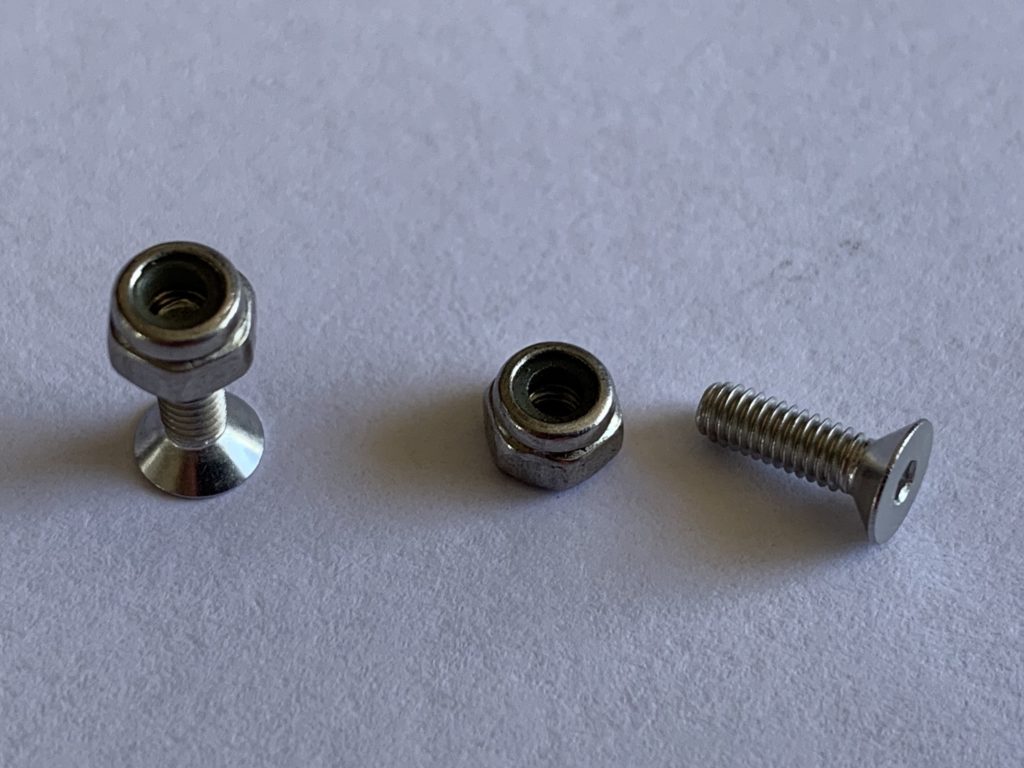
  • 2x M2.5 x 12mm Countersunk screws + 2x nuts (motor mount)
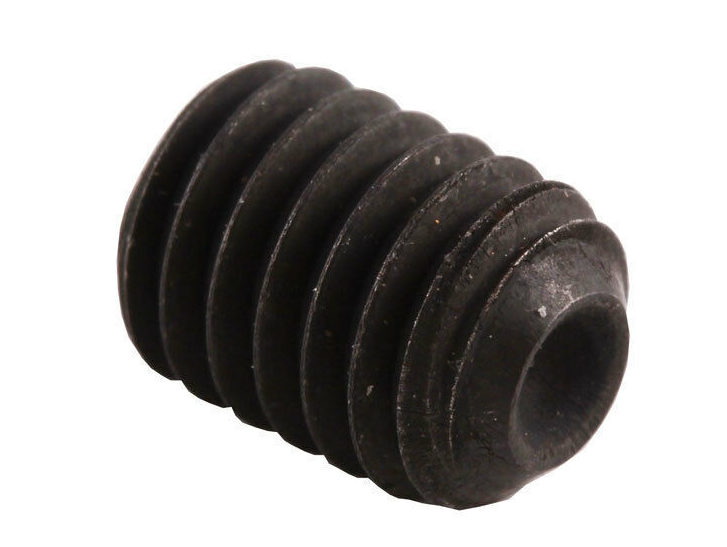
  • 1x M4 Steel Hex Head Cup Point Grub screw (same as DIY SmartBlinds v1)
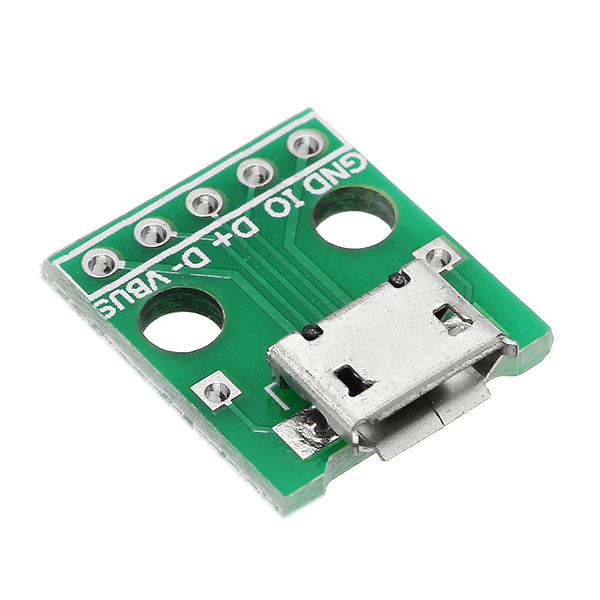
  • 1x Micro USB Breakout Board – Green PCB!
  • 1x Micro USB Cord
  • 1x 5v USB Power Supply Arduino Sketch for the Node MDU, also attached to this post.
The connection of the electronics components is the same as DIY SmartBlands v1. Here the schematic for completeness. The only difference is that you are wiring up the power to a micro USB micro breakout board, pictured above. Its important you source the breakout board exactly as pictured i.e. the one with the Green PCB, as the mounting points have been designed for this micro USB board. You will also note that this PCB has additional power solder point next to the micro connector. These can be handy to connect power to either the NODE MCU or motor driver. There is another one readily available micro USB breakout board that has a blue PCB. NOTE: This design has not been tested with that PCB design.

Programming

The code for the NODE MCU can be downloaded from GitHub. You can upload the code using the Arduino IDE. There are plenty of tutorials online on the Arduino IDE and how to program the NODE MCU hence I am not repeating them here. I though it would be useful for troubleshooting to post the versions of the libraries that I used for my project. So here they are:

  • ArduinoJson 5.13.2
  • WiFiManager 0.14.0
  • Stepper 1.1.2
  • ESP_EEPROM 2.0.0
  • WiFi 1.2.7

Home Automation

If you would like to try to integrate the DIY Smart Blinds withe either Apple Homekit (Homebridge required) or Amazon Alexa through the Samsung Smart Things, I am providing my experimental code. Use at your own risk.

DescriptionLink
Arduino SketchGitHub link
Homebridge plugin / Homekit GitHub link
Samsung Smart Things – device handlerGitHub link

What’s next?

I am also testing a simple mod, for this design to make it suitable for Wand type blinds. Wand operated blinds (typically horizontal blinds) have a long wand / stick that when twisted adjust the position of the horizontal blinds.

DIY SmartBlinds v2 Wand Adapter

Let me know in the comments if that type of adapter would interest you or if you have any questions about this new v2 design?

You may also like...

39 Comments

  1. Good Morning.

    I want to carry out this project, but I have several doubts.

    Can you help me?.
    1-Could it be used for a blind?
    2-Could you put a battery or is it unfeasible?

    Thank you.

    1. Hi, to try to answer your questions. 1) if you are thinking about using this on a roller blind then it will depend on how heavy the roller blind is. I have designed this device to be used primarily on vertical and horizontal blinds for the tilt motion. 2) you could easily attach a battery pack to the micro USB. I have not done any test with a battery pack though.

  2. Hi Peter,

    I made this based on the v1 design and am having a little trouble with the power of the motor. It doesn’t seem to be strong enough to pull the cord and I’ve tried re-designing the wheel part so it’s smaller and grips the beads better but still wont pull the blind. Can you tell me if it is possible to get a motor that still fits but has more torque? I love the initial design btw, the nice curves on the box give it a very professional looking finish!

    Thanks,
    Eoin.

    1. Hi Eoin, glad you like the design. Those 5v motors I suggested in the components list have quite a bit of torque at low speeds, such that even when my blinds rotation sometimes gets blocked by something, the motor still turns to the point the needed dried slips. Having said that, the motor should be capable of pulling the beaded cord to rotate the blinds but it will not have enough power to pull the cord that slides the vertical blinds to one side. Have you made any changes to the code? I have not found any alternative motor that would be small enough with more torque. If you find any thing suitable let me know, I may be able to incorporate it in the design.

  3. Hi! bought the kit recently, I have one question, how do you tight the nut for the motor? please help!

    1. Hi, I used a small flat screwdriver to wedge between the nut and the side wall of the device body. This should prevent the nut from spinning. It’s a tight place but doable. The just used a screwdriver to tighten the screw. Good luck.

  4. Hi mate,

    Currently programming this at the moment and got homebridge to recognise it. Although havent figured out how to alter the rotation settings yet..

    I would really like to add this into Home Assistant, is this possible?

  5. Peter, i just finished the project, connected to homebridge and even alexa. The only issue i had was the servo doesn’t have enough torque to rise the blinds, i’m thinking about swapping the servo for a nema 17 bipolar stepper, thing is, i am not a very avid coder, do you have a version of the code for bipolar steppers? thank you,

    1. Hi Miguel, firstly congrats. Unfortunately I don’t have the code for other type of motors. Perhaps an arduino forum might be of help? Is the stepper small enough to fit into the case?

    2. Hi,

      can you share your code? I’m interested in the alexa part.
      I tried it myself, but it isn’t working.

    3. Hi Chris, I will be posting my Device Handler for the Samsung SmartThings which in turn you can connect to the Alexa echo system. Unfortunately Alexa does not handle windows Shades very well and can only respond to turn on or turn off because it treats them a switches. Hopefully Amazon will change this soon. I will post by code at the bottom of this blog post: https://www.candco.com.au/2019/03/10/diy-vertical-or-horizontal-blinds-automation-project/

  6. Yeah I’m learning and translating the code to be compatible with nema 17 bipolar stepper, i’ll keep you posted. I modified the case to fit the new motor, also gave some upgrades like “windows” to insert nut key to tight motor nuts easily, and two other “windows” to install to wall directly, no extra mount necessary, more reliable.

    1. Hi Miguel, Does the Nema 17 bipolar steper have the dimensions 42x42x48mm. Would love to find a stepper that is half that size.

  7. Hi Peter, yes, theres a lot of sizes, take a look at the chart middle page. https://www.amazon.com/gp/product/B00PNEQKC0/ref=ppx_yo_dt_b_asin_title_o00_s00?ie=UTF8&psc=1

    Peter, regarding the code, could you explain this line to me:

    “int advanceAmount = 1; //for non blocking stepper set the advance amount each iteration”

    I’m using AccelStepper library to be compatible with the Nema17, and all functions are non-blocking (if i use blocking functions nodemcu times out and resets), what should I do with advanceAmount?

    1. The advanceAmount for a non-blocking stepper motor is probably irrelevant and should be 1. It’s meant to allow the Arduino interrupt the motor movement every x amount, so that you can run other code while to motor is spinning.

      Thank you for that link. I think these are standard size Nema 17 motors at about 4cm width. Looks like is is much more powerful than the one in my design. Please send me, if you can, a picture of your modified design with that motor in it.

    2. I have started a new Nema based project. Lets move the conversation here: https://www.candco.com.au/2020/04/18/diy-smart-blinds-v3/

  8. Michael Webb says:

    Hi Peter and Migual,

    Have you guys had anyluck with the Nema 17 motor. if you have please could you guys share the new 3d prints and code as well as the bill of materials. would like to automate my roller blinds and the other motor does not lift the blinds hoping the Nema will do the trick. thanks

  9. Michael Webb says:

    Hi Miguel and Peter,

    Have you managed to get get the Nema 17 working. and if you guys have would you be able to share the bill of materials as well as the code.
    Thanks

    1. Hi Michael, I have not tried the Nema17 motor yet. I felt it’s too bulky and needs 12v. My design intention was a small form factor and powered by 5v from a USB power supply. I think this would need to be a seperate design and project.

  10. Hi there,
    im pretty new to all this stuff but im really excited to build that thing.
    Where can I find the Arduino Sketch / Code? I just can’t find it.
    Thanks a lot!

    Phil

    1. Hi Phil, the code is in a link at the bottom of the post. Good luck.

  11. Hi Peter,
    I’ve used the Arduino Sketch you provided and I keep getting the following error:
    In function ‘void getHTMLstatus()’:
    DIY_SmartBlinds:249:43: error: ‘getLux’ was not declared in this scope
    eepromVar.LUXstate = getLux(photocellPin);
    ^
    exit status 1
    ‘getLux’ was not declared in this scope

    Would you be able to help me?

    1. Hi Josh, you can remove all reference to the getLux function. I was toying with a light sensor built into the DIY SmartBlinds but gave up because the device was always in the shade and couldn’t get an accurate reading.

  12. Hey, I’ve been meaning to do your original design for ages now after buying some parts but just notice you’ve posted this one which I’ll follow instead! Do you have any pictures/walkthrough of the wiring please for a beginner (in electronics!)? Also where is the grub screw used? I can’t seem to tell. Thanks!

    1. Yes, the DIY SmartBlinds V1 has the circuit diagram. Its the same for v2. Also there is a step by step on Instructables.

  13. Hi, did you desolder the pins on the ULN board in order to finish wiring it up? I’ve found I can’t fit the jumper wires on the ground and power pins due to the power board being in the way? A fully assembled picture of the inside would be really helpful if possible? Thanks!

  14. Patrick Cunningham says:

    I don’t seem to be able to upload the sketch to my MCU? ive tried changing library versions and everything. The error i get is that it has an error compiling for NodeMCU 1.0 (ESP-12E Module). I cant seem to figure out whats wrong? It comes up as an available network sometimes but the config page doesn’t load. I am a beginner with this however

    1. Patrick Cunningham says:

      Hello, me again! Just to say i fixed the problem. This code is designed to work with older ESP boards. Installing the most current boards from the board Manager 2.7 won’t work. If you downgrade the version to 2.5, it worked for me. It’s either my board was too old or the code is outdated since the board updates.

  15. I’d love to use an ESP32 instead of the ESP8266 so I can write a sketch that makes use of the BLE instead of Wifi (and then possibly running from a battery). I’d assume that an ESP32 board will have different dimensions to an ESP8266. Can you recommend how I handle this? The board I’m wanting to use is (I think) 57x27x10

    1. Hi Alan, please check your email as it bounced on your order. As to your question, you may need to redesign the bottom lid to adjusted the mounting for the ESP32.

  16. Hi Peter, that’s interesting – my email auto-filled with my standard gmail email, so I’ve no idea why it bounced! I also didn’t receive notification of a reply via my email, so maybe something awry with gmail accounts. Once my ESP32 arrives I’ll be able to confirm those dimensions, and will have a crack at remodelling from the STL. Will it be possible to do that with Fusion 360?

    1. Hi Alan, perhaps you could remove all the bottom lid pcb mounting points, so that you just have a flat surface, then add whatever mounting you require for your own pcb? You can use any 3D modeling tool of your choice by importing the STL.

  17. Hi Peter, thanks for the comment, I will try that once I can!

    A quick question about the cog wheel. I’ve been printing the v1 set just for a test run, and the cog doesn’t seem designed for 5mm balls like the initial post says. It looks like the v2 cog is the same design as the v1? I’ve just downloaded the 5mm from this comment: https://www.candco.com.au/2020/04/18/diy-smart-blinds-v3/#comment-942 and am printing it now – will this work on the V2 hardware?

    1. The 5mm cog from the link you listed will work on the v3 hardware as it’s made for the Nema14 shaft.

  18. Ok no worries. I’ve changed tack, and I’ll build the v3. I’m sure I can find a use for my ordered smaller stepper motors in some other project!

    1. Out of curiosity, have you tried to mock-up and test the Nema17 on your blinds to see if it will pull the blinds?

  19. Can you please advise how to enter wifi details in the arduino sketch as i cannot find where to enter ssid and password. Many thanks in advance

    Paul Limmer

  20. Very cool build. Hope to try it soon. Is there a mounting bracket to mount on the wall?

    1. Thank you. Yes there is a wall mount included, but you can just as easily use screws for mounting.

Leave a Reply

Your email address will not be published. Required fields are marked *

This site uses Akismet to reduce spam. Learn how your comment data is processed.